Quick Start
In this tutorial you will:
- Quickstart tapp project
- Build a tapp project
- Test (emulate) a tapp project
- Tapp project lifecycle
Prerequisites
Before starting this tutorial you must:
- Install Node.js & Python
- Install TokenScript CLI
Install Node.js & Python
Compatible versions
- Node.js
16.20.218.16.018.18.2- Python
3.11.0Manage Node.js version
Highly recommend to use NVM to manage Node.js. Install nvm on Mac as following:
curl -o- https://raw.githubusercontent.com/nvm-sh/nvm/v0.39.5/install.sh | bashInstall the specific version of Node.js as following:
nvm install node (the latest version)nvm install 16.20.2nvm use 16.20.2Manage python version
brew install pyenvpyenv install 3.11.0pyenv global 3.11.0Install TokenScript CLI
Before install TokenScript CLI, you must check the Node.JS version.
npm install -g @tokenscript/clipnpm add -g @tokenscript/cliyarn add -g @tokenscript/cliDevelopment lifecycle
Create a tapp project
tokenscript create my-project-dirWhen you execute the command, you will be asked to choose a project type:
Empty Svelte Project - recommended: An empty TokenScript project with Svelte & ViteEmpty React Project - recommended: An empty TokenScript project with React & ViteEmpty TypeScript Project: An empty TokenScript project with TypeScript & WebpackEmpty Project: An empty TokenScript projectRecommend to choose one of the first three options, which can be viewed in the browser.
The following is an example of creating a new project with the Empty React Project template:
Create new workspace at /Users/.../my-project-dir?: y? Select project template Empty React Project - recommended: An empty TokenScript project with React & Vite? Enter a name for the TokenScript project: my-first-tokenscript? Select the token type: erc20? Enter the ethereum contract address for the TokenScript: 0xA0b86991c6218b36c1d19D4a2e9Eb0cE3606eB48? Enter the ethereum chainID for the TokenScript: 1? Enter a short description for the TokenScript: tokenscript-usdc? Enter a URL to a website about this TokenScript: https://etherscan.io/address/0xa0b86991c6218b36c1d19D4a2e9Eb0cE3606eB48? Enter an icon URL for the TokenScript (base64 image URLs are supported):https://raw.githubusercontent.com/Uniswap/assets/master/blockchains/ethereum/assets/0xA0b86991c6218b36c1d19D4a2e9Eb0cE3606eB48/logo.pngInitializing template...... doneRunning NPM install...... doneProject successfully initialized!Build a tapp project
Once the tapp project is successfully initialized, you can build your tapp project into one single file (tokenscript.tsml) .
cd my-project-dirnpm run buildThe output like the following:
> emptyreact@0.0.0 build> tokenscript build

Building TokenScript with default environment
> emptyreact@0.0.0 ts:buildWeb> vite build
vite v5.3.1 building for production...transforming...✓ 37 modules transformed.rendering chunks...

Inlining: index-CoUqb0k_.jsInlining: style-DfSgmIGg.csscomputing gzip size...dist/index.html  145.26 kB │ gzip: 46.99 kB✓ built in 918msProcessing ./dist/index.htmlProcessing ./src/styles.cssValidate TSML...... done
TokenScript build completed successfully!
Test a tapp project
If all is well, you should see a file in ./out/tokenscript.tsml.
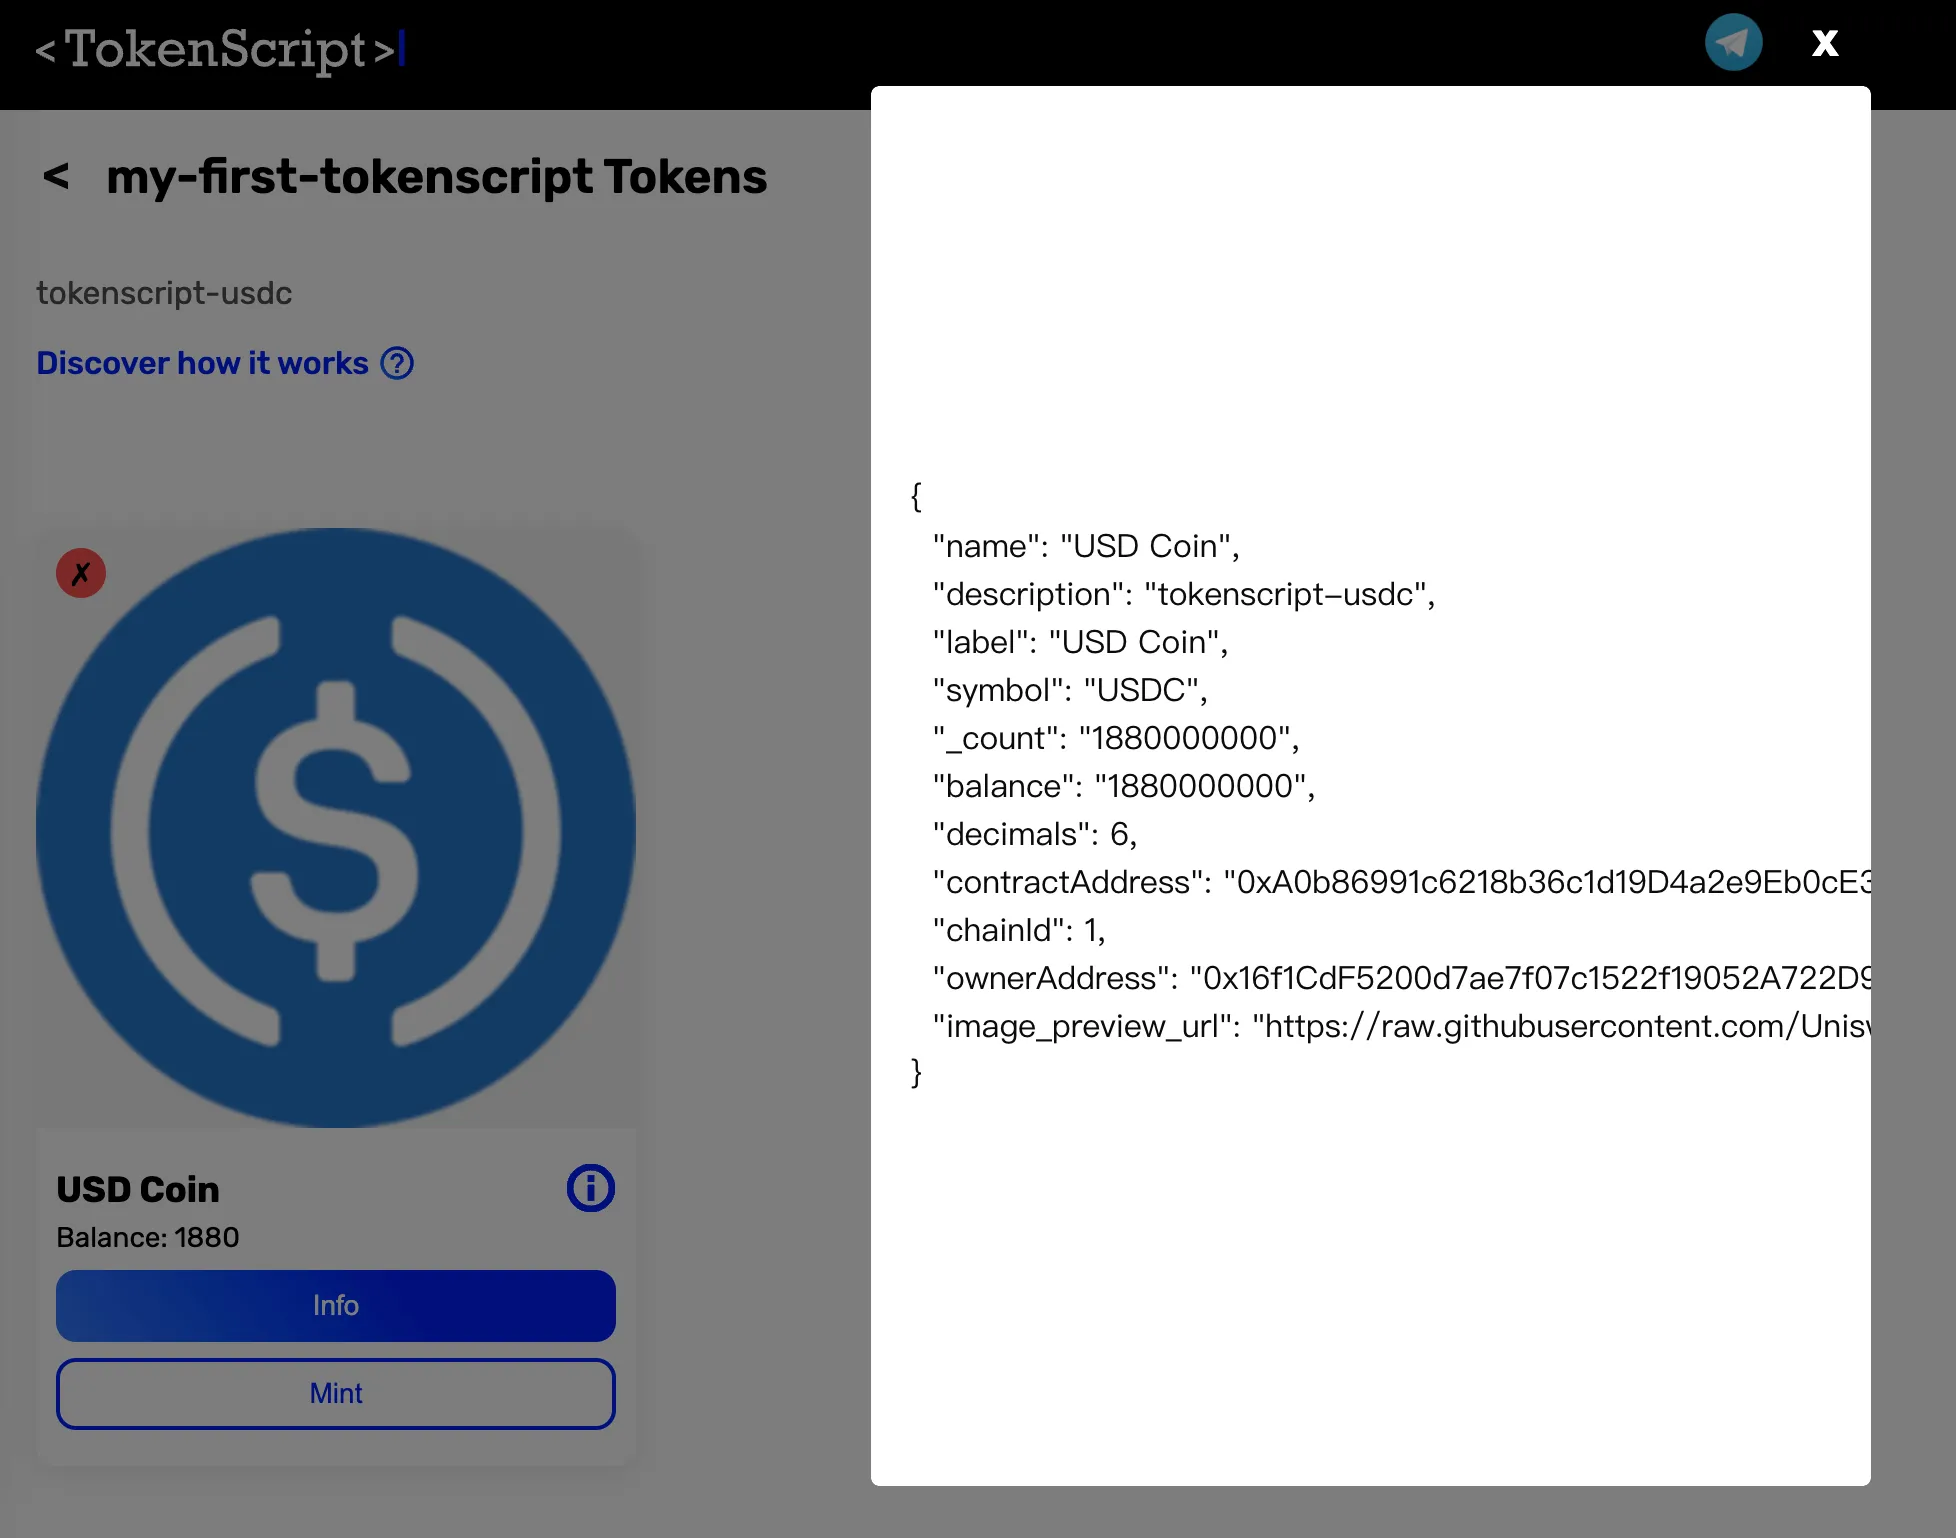
In order to verify the tapp project, you can emulate the project as following:
npm run emulateYour browser should open a new page for your token automatically, like the following, if not you can visit http://localhost:8090/?emulator:

Sign a tapp project
Once you have tested the tapp project, you can sign the tokenscript.tsml file with the following command:
tokenscript signNow, your tapp is ready to be deployed.